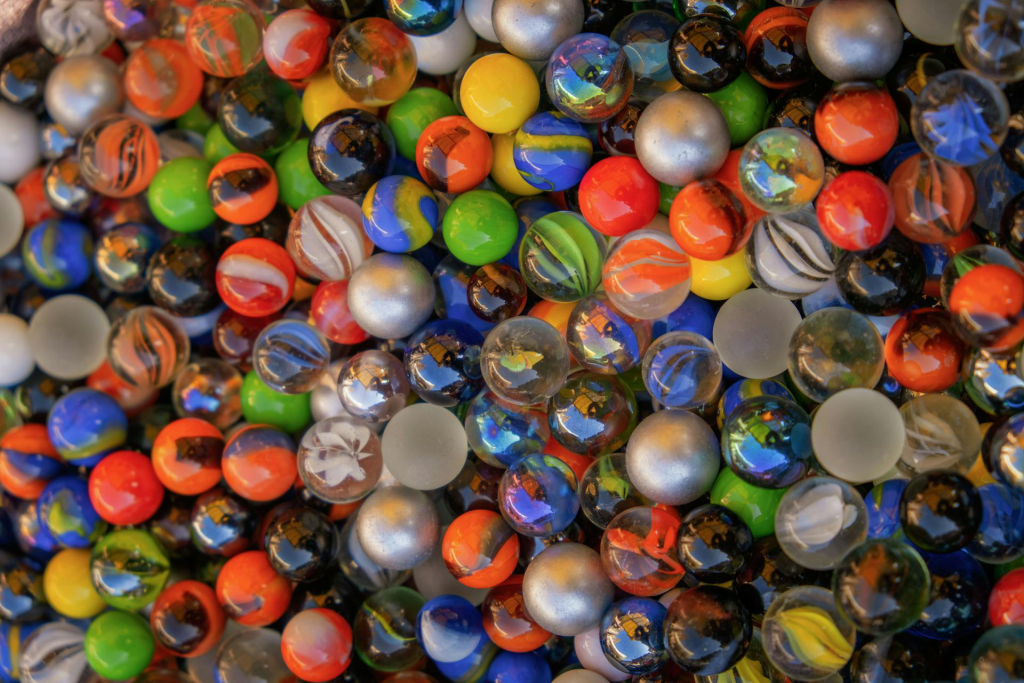

Toy marbles are small, mesmerizing objects with a rich history spanning centuries. While many remember them as childhood playthings, they are now highly sought-after collectibles. Understanding how to identify, date, and value toy marbles is essential for both novice and experienced collectors. From handmade German glass to early American machine-made examples, the nuances in materials, patterns, and manufacturing marks can reveal a marble’s origin, age, and worth. This guide provides practical insights to help collectors navigate this complex yet fascinating hobby.
Why Identification Matters
Identification is the cornerstone of marble collecting. Knowing whether a marble is handmade or machine-made, its country of origin, and its approximate production era allows collectors to:
- Determine rarity and potential value
- Ensure authenticity and avoid reproductions or fakes
- Make informed purchasing decisions
- Preserve historical and artistic significance
Without proper identification, even a visually striking marble might be undervalued or misclassified.
Step 1: Identifying Types of Marbles
Marbles can generally be categorized into three main types:
- Handmade Glass Marbles
- Produced by skilled artisans, primarily in Germany, Austria, and Bohemia during the 19th and early 20th centuries.
- Features: Irregularities in shape, size, and pattern; pontil marks; subtle variations in color and pattern distribution.
- Common patterns include onionskin, swirl, lattice, and ribbon.
- Machine-Made Glass Marbles
- Emerged in the early 1900s, mainly in the United States.
- Features: Perfectly round, smooth surface, faint seams from rollers, highly consistent patterns.
- Common patterns include corkscrews, patches, flames, and rainbos.
- Clay and Stone Marbles
- Older types, usually from the 18th to 19th centuries.
- Features: Heavier than glass, matte finish, simple colors or natural stone patterns.
- Clay marbles were molded and fired; stone marbles were hand-polished.
- Contemporary Art Marbles
- Modern, studio-crafted marbles made by artists.
- Features: Implosions, intricate color layering, optical effects; often signed or documented.
Recognizing the type is the first step toward accurate dating and valuation.
Step 2: Dating Toy Marbles
Dating marbles requires understanding the evolution of materials, patterns, and manufacturing techniques:
1. Handmade Marbles (Pre-1900s)
- Early German glass marbles were often made using a solid or hollow rod technique, with color swirls and intricate designs.
- Pontil marks are key dating indicators. They reveal where the marble was cut from the glass rod and are typical of marbles made before mechanization.
- Early handmade patterns like onionskin, ribbon, and lattice are generally 19th-century in origin.
2. Early Machine-Made Marbles (1900–1930)
- U.S. manufacturers like Akro Agate, Christensen Agate, and Peltier Glass pioneered marble machines around 1900–1920.
- Faint seams along the marble’s circumference indicate machine production.
- Patterns are more uniform than handmade marbles, often in corkscrew or flame designs.
3. Mid-20th Century Marbles (1930–1960)
- Production became fully automated; seams are sometimes nearly invisible.
- Marbles are highly uniform in size and color placement.
- Popular patterns include swirl, twist, and rainbo.
4. Late 20th Century and Contemporary Marbles
- Studio art marbles became popular from the 1970s onward.
- Implosion, millefiori, and complex layered designs dominate.
- Often signed by the artist or accompanied by a certificate of authenticity.
Step 3: Examining Patterns and Color
Pattern and color are critical for identification and dating:
- Swirl and Onion Patterns: Early German marbles, 1800s–early 1900s.
- Corkscrews and Flames: Machine-made U.S. marbles, 1900–1930s.
- Rainbo Patterns: Mid-20th century machine-made marbles.
- Implosions and Murrine: Contemporary art marbles.
Color placement, transparency, and internal streaking also offer clues about manufacturing techniques and production eras.
Step 4: Recognizing Manufacturing Marks
Marbles carry subtle marks that indicate their origin:
- Seams: Usually present on machine-made marbles; single or double seams are common.
- Pontil Marks: Small rough spots where glass was cut from a rod, indicative of handmade marbles.
- Cut or Shear Marks: Slight lines from separating molten glass in early machine production.
- Polish and Surface: Handmade marbles often have minor surface irregularities; machine-made marbles are smoother and more uniform.
Learning to read these marks is essential for both accurate identification and valuation.
Step 5: Valuing Toy Marbles
Several factors influence a marble’s value:
- Rarity – Limited production marbles, early handmade German examples, or rare patterns command higher prices.
- Condition – Chips, cracks, or surface wear reduce value. Collectors prefer pristine marbles with minimal defects.
- Pattern and Color – Complex patterns, vibrant colors, and unusual designs increase desirability.
- Size – Larger marbles are often more valuable, particularly for handmade examples.
- Provenance – Marbles with documented history, certificates, or artist attribution carry higher value.
Typical values vary widely:
- Common machine-made marbles (20–25 mm): $1–$5 each
- Early machine-made or rare U.S. marbles: $10–$50 each
- Handmade German marbles (19th century): $50–$500+ each
- Contemporary art marbles: $50–$1,000+ depending on artist and complexity
Step 6: Avoiding Fakes and Reproductions
Fakes are common, particularly for popular antique marbles. Tips to avoid them:
- Study patterns and markings in reference books and databases.
- Compare suspected pieces to authenticated examples.
- Buy from reputable dealers or directly from known artists.
- Be wary of extremely low prices for marbles claimed to be rare or antique.
Step 7: Documentation and Record-Keeping
Keep detailed records for every marble in your collection:
- Type, pattern, size, and color
- Manufacturer and estimated production date
- Condition notes and any markings
- Purchase source and price
Photographs are especially useful for insurance, provenance, and tracking collection growth.
Step 8: Display and Preservation
Proper storage is crucial:
- Use compartmentalized trays or padded boxes.
- Avoid stacking marbles to prevent chipping.
- Store away from direct sunlight to prevent color fading.
- Clean only with soft, damp cloths; avoid harsh chemicals on antique marbles.
Conclusion
Identifying, dating, and valuing toy marbles requires patience, study, and careful observation. Understanding types, patterns, manufacturing marks, and historical context allows collectors to make informed decisions, preserve their collection, and appreciate the artistry behind each marble. Whether collecting for nostalgia, investment, or artistry, knowledge is the key to a successful and rewarding marble collection.