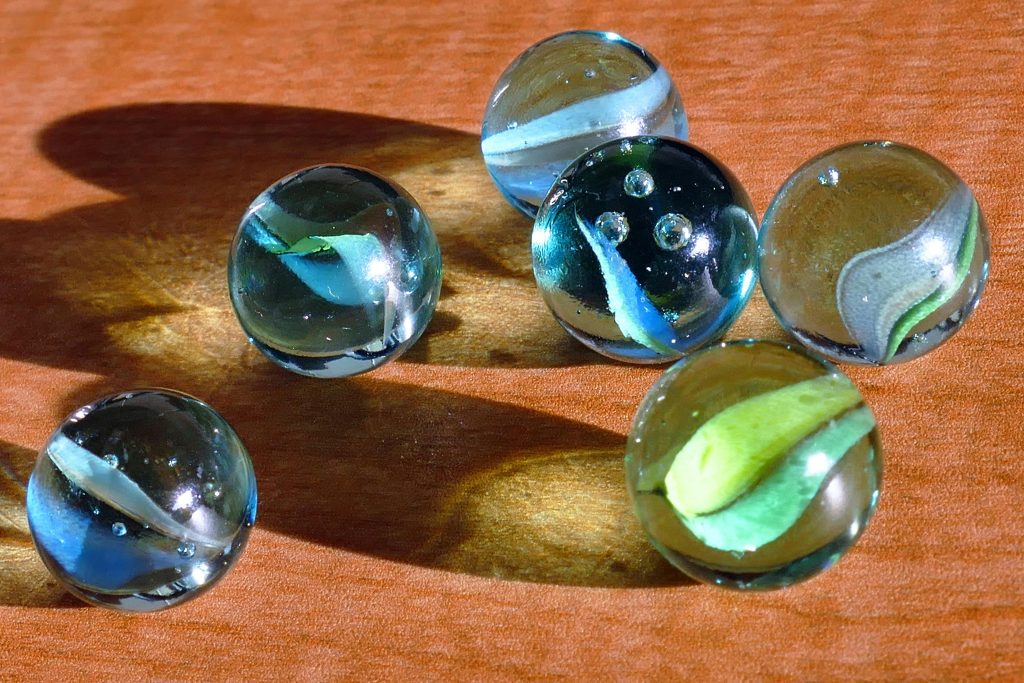
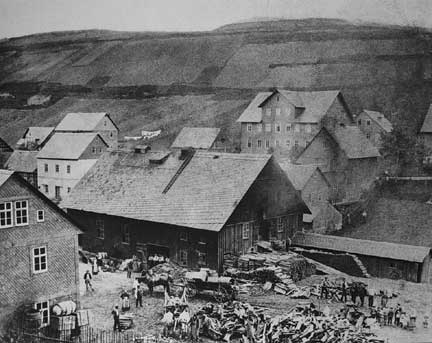
Below is a comprehensive, technical, step‑by‑step walkthrough of how German glass artisans historically crafted handmade swirl marbles—from the furnace to the finished gem. This detailed guide follows real traditional techniques used in German and Central European glassworking centers (especially in Lauscha and other historic glass villages known for marbles and art glass), covering gathering, temperature control, color threads, twisting, shaping, pontil work, annealing, and quality control.
1. Glass Batch & Furnace: Preparing the Molten Medium
At the heart of every handmade marble is glass in liquid form.
Batch Composition
- Silica (SiO₂): The primary glass former.
- Fluxes (Soda/Ash): Lower the melting point.
- Stabilizer (Lime/Alumina): Improves durability.
- Colorants & Opacifiers: Metal oxides or minerals (e.g., cobalt for blue, copper for green, manganese for purples).
This batch was melted in a wood‑ or coal‑fired pot furnace, with ceramic or refractory clay pots holding the glass.
Furnace Zones
- Melting Zone (~1400–1500 °C / 2550–2730 °F): Where raw batch becomes molten.
- Working Zone (~1000–1200 °C / 1830–2190 °F): Glass is workable—transparent and stretchy.
- Marvering/Annealing Zone (~500–800 °C / 930–1470 °F): Cooler area where shaping and then slow cooling begins.
Controlling the heat gradient was crucial. Glassworkers read the colour and viscosity of molten glass visually and by how it behaved on their tools.
2. Gathering: Pulling the Molten Glass
Gathering means collecting the molten glass on the end of a steel rod (called a pontil or blowpipe depending on later use).
Steps:
- Heat the pontil tip in the furnace (to prevent thermal shock).
- Dip into the molten glass, rolling it to gather a bead of glass.
- Marver the gather: Roll it on a flat steel table to shape and control size, compress air bubbles, and distribute heat.
Key Control Factors:
- Keep the glass surface glossy (a sign of good heat).
- Avoid overheating — too fluid makes the glass hard to control.
- Avoid underheating — too rigid will crack when worked.
3. Color Threads & Decorative Elements
Handmade swirl marbles often featured colored threads—thin rods of colored glass known as stringers.
Making Stringers
- Pre‑heat colored glass rods.
- Pull them into thinner threads using gravity and a helper.
- Anneal these threads separately before applying.
Applying Color:
- Lay Threads on Gather: Dip the hot clear glass gather onto arranged color threads laid on the marver.
- Fuse Colors In: Reheat so the threads melt into the surface.
- Encasing (Optional): A clear layer of glass may be added over color to protect and deepen effect.
Variation in thread placement (spiral, cross‑hatch, random) determined the swirl pattern.
4. Shaping: Twisting, Rolling, & Sculpting
With decorative elements applied and molten glass at working temperature, artisans began shaping:
Twisting Techniques
- Heat evenly.
- Rotate the rod between hands or on the marver.
- Gently turn while moving over the marver to induce swirls.
The motion has two effects:
- Melts color threads into smooth, spiraling forms.
- Shapes the marble sphere.
Shaping the Sphere
- Hand Rolling: Press and roll on the marver table.
- Shell Tool: A grooved steel tool can refine the sphere.
- Gravity & Rotation: Skilled makers sense the balance of glass and heat and turn constantly.
5. Pontil Attachment & Separation
Historically, a second rod—the pontil—was used to secure the piece while shaping the opposite end.
Sequence:
- Initial Gather on Blowpipe or Rod: For decoration and first shaping.
- Attach Pontil: A fresh gather on the pontil sticks to the glass from the working end.
- Break Off Blowpipe: The marble is now held by the pontil.
- Finish Shaping Opposite End: Rotate and shape the still‑molten hemisphere.
Pontil Mark: This attachment leaves a distinctive mark — a seasoned identifier of handmade marbles.
6. Cold Rolling & Surface Finish
After shaping, many makers refined the surface:
Cold Rolling
- The marble, still warm but solid, is placed in a tumbling barrel with abrasives.
- The motion smooths minor irregularities.
- Final polishing is done with fine abrasives (e.g., ground felt, pumice) to achieve a lustrous finish.
Grinding (Where Needed)
- Flat tools or grinding wheels remove stubborn seams.
- This step increases optical clarity and balance.
This work required patience — too aggressive grinding can dull colors.
7. Annealing: Controlled Cooling
Arguably the most critical technical step is annealing: a controlled cool‑down that relieves internal stresses.
Annealing Lehr
- Marbles entered a slowly cooling chamber (a lehr).
- Start at working temperature (~500–800 °C / 930–1470 °F).
- Gradually reduce to room temperature over hours to days depending on size.
If skipped:
- The marble stays stressed.
- Temperature shocks (cold water, tapping) can cause cracking.
8. Quality Control: Inspection & Classification
After annealing and polishing:
Visual Inspection
- Surface finish: Smooth, blemish‑free.
- Symmetry of sphere.
- Clarity (no unwanted bubbles or inclusions).
Pattern Inspection
- Swirl harmony: Even, intentional curves.
- Color fidelity: True to design, well‑fused into clear glass.
Physical Tests
- Roll test: A true sphere rolls straight.
- Light refraction: No warped optics.
Traditionally, craftsmen set aside:
- Museum quality: perfect spheres, vivid pattern.
- Utility quality: slight imperfections but intact form.
9. Illustrations & Diagrams (Period‑Style)
While modern images can’t be actual contemporary 19th‑century prints, these diagrams help visualise core steps:
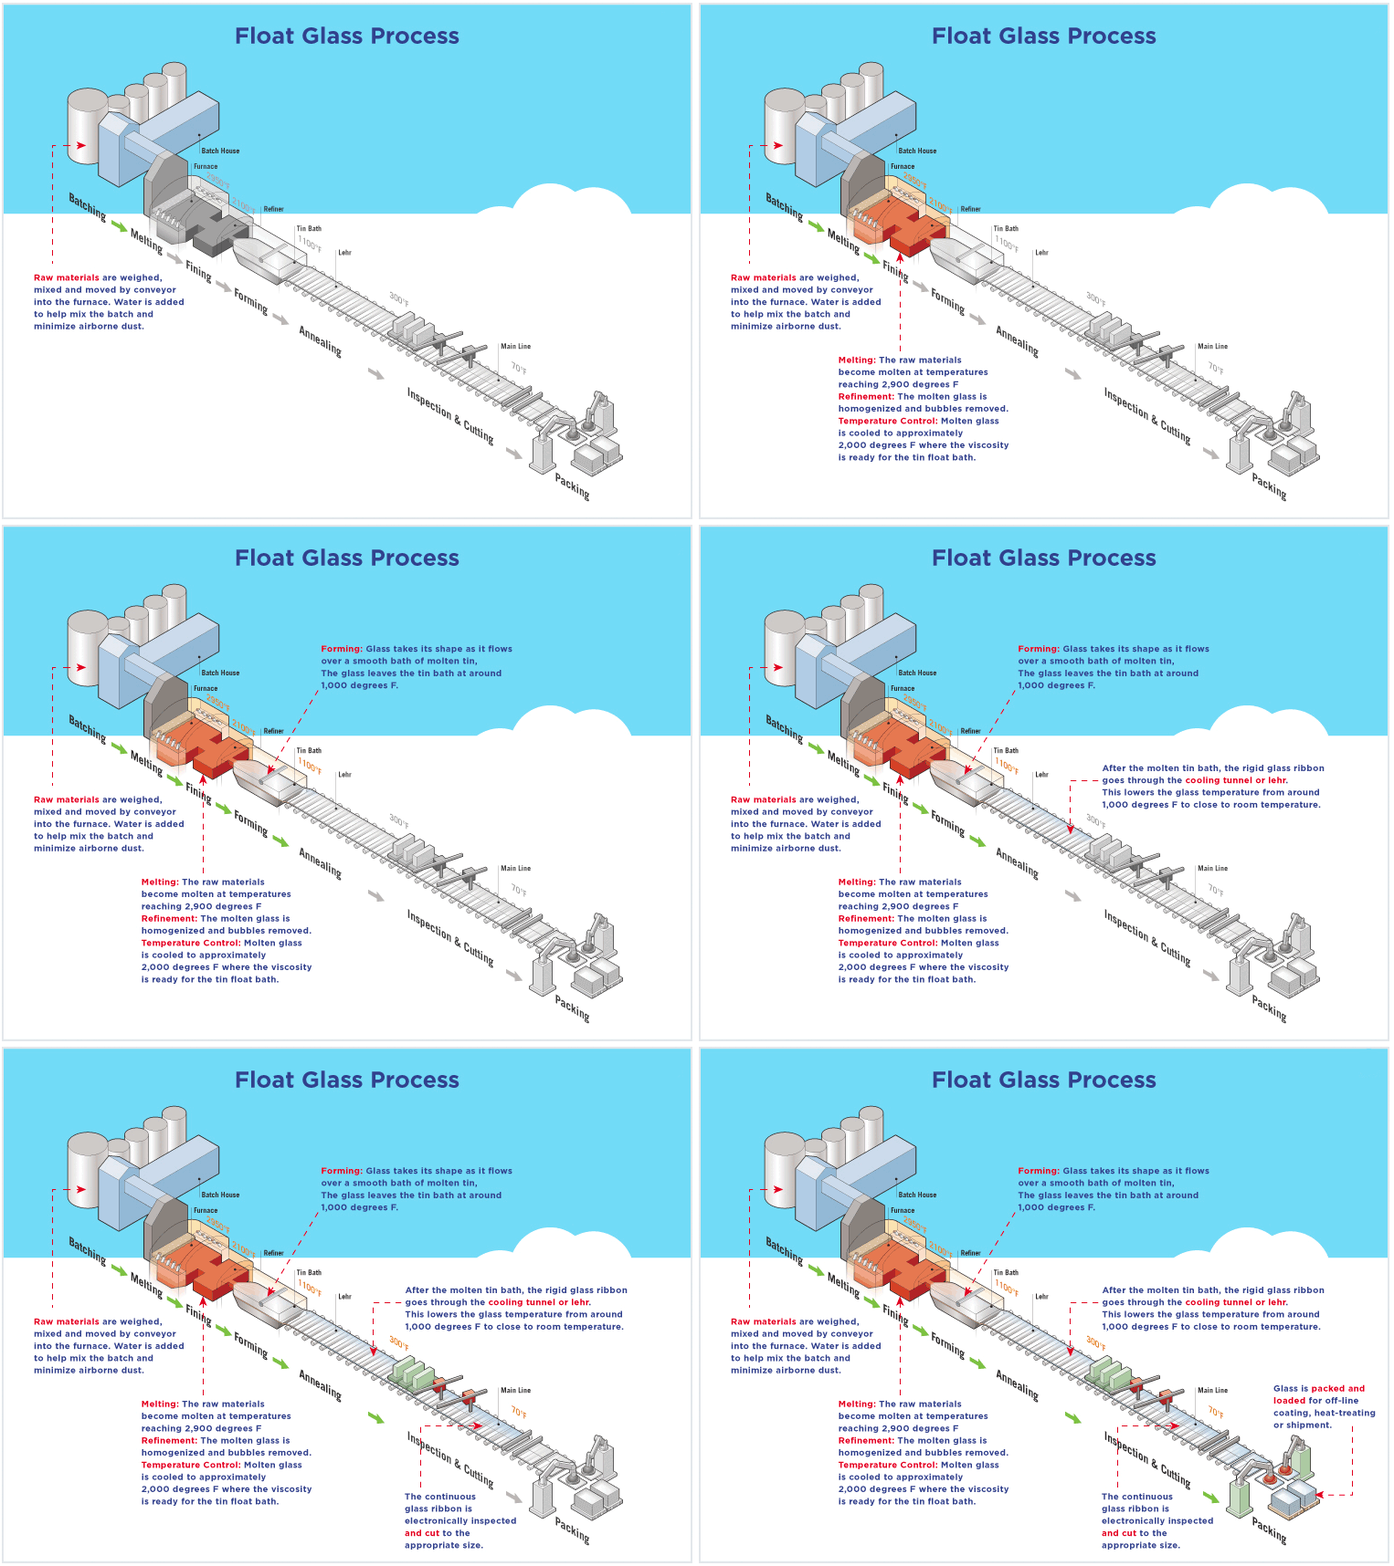

(A) Tool names and working positions
(B) Heat zones in the furnace and workbench
(C) Color thread application layers
(D) Pontil attachment and mark illustration
Summary: The Craft Flow
- Mix & melt batch to molten glass.
- Gather glass on rod; marver to shape base.
- Add color threads/canes and fuse them.
- Twist & shape sphere using marver and rotation.
- Pontil transfer & finish shaping opposite side.
- Cold roll / polish to smooth surfaces.
- Anneal slowly in lehr.
- Inspect & classify quality.
Each step balanced artistry with precise temperature control, material science, and hand‑eye coordination — the essence of German handmade swirls.